I have an interesting relationship with this radio…

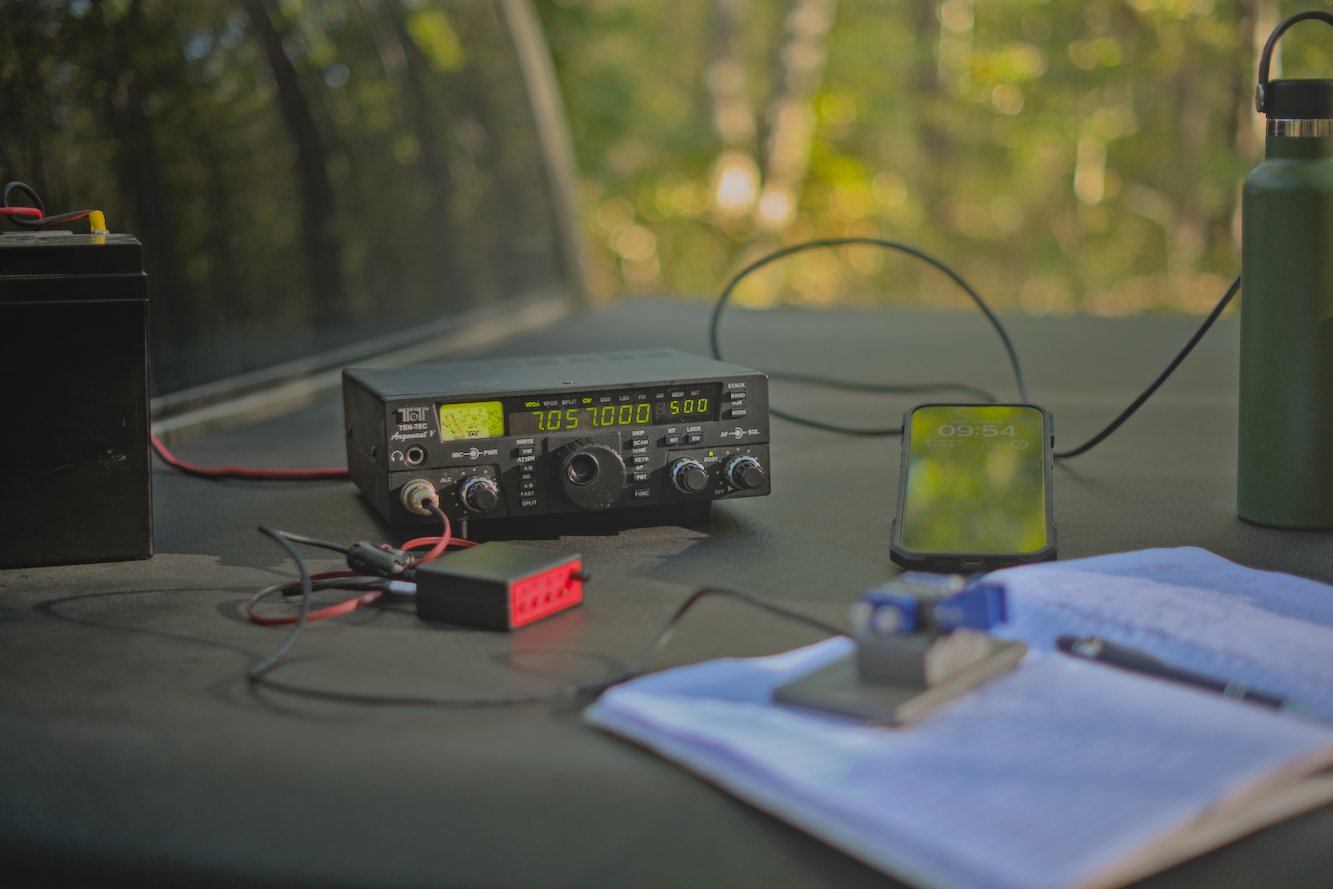
When I first got this radio, I found it had some keying problems on CW but I just adapted to them and used it anyway. These problems are in how the software monitors the CW circuit and keys the radio and such. Turns out that as the radio heats up, the problem tends to get worse causing me to have to slow down the keyer to be able to send accurate code. Even with these tactics, I still send many mistakes towards the end of an activation due to the lag in the keyer.

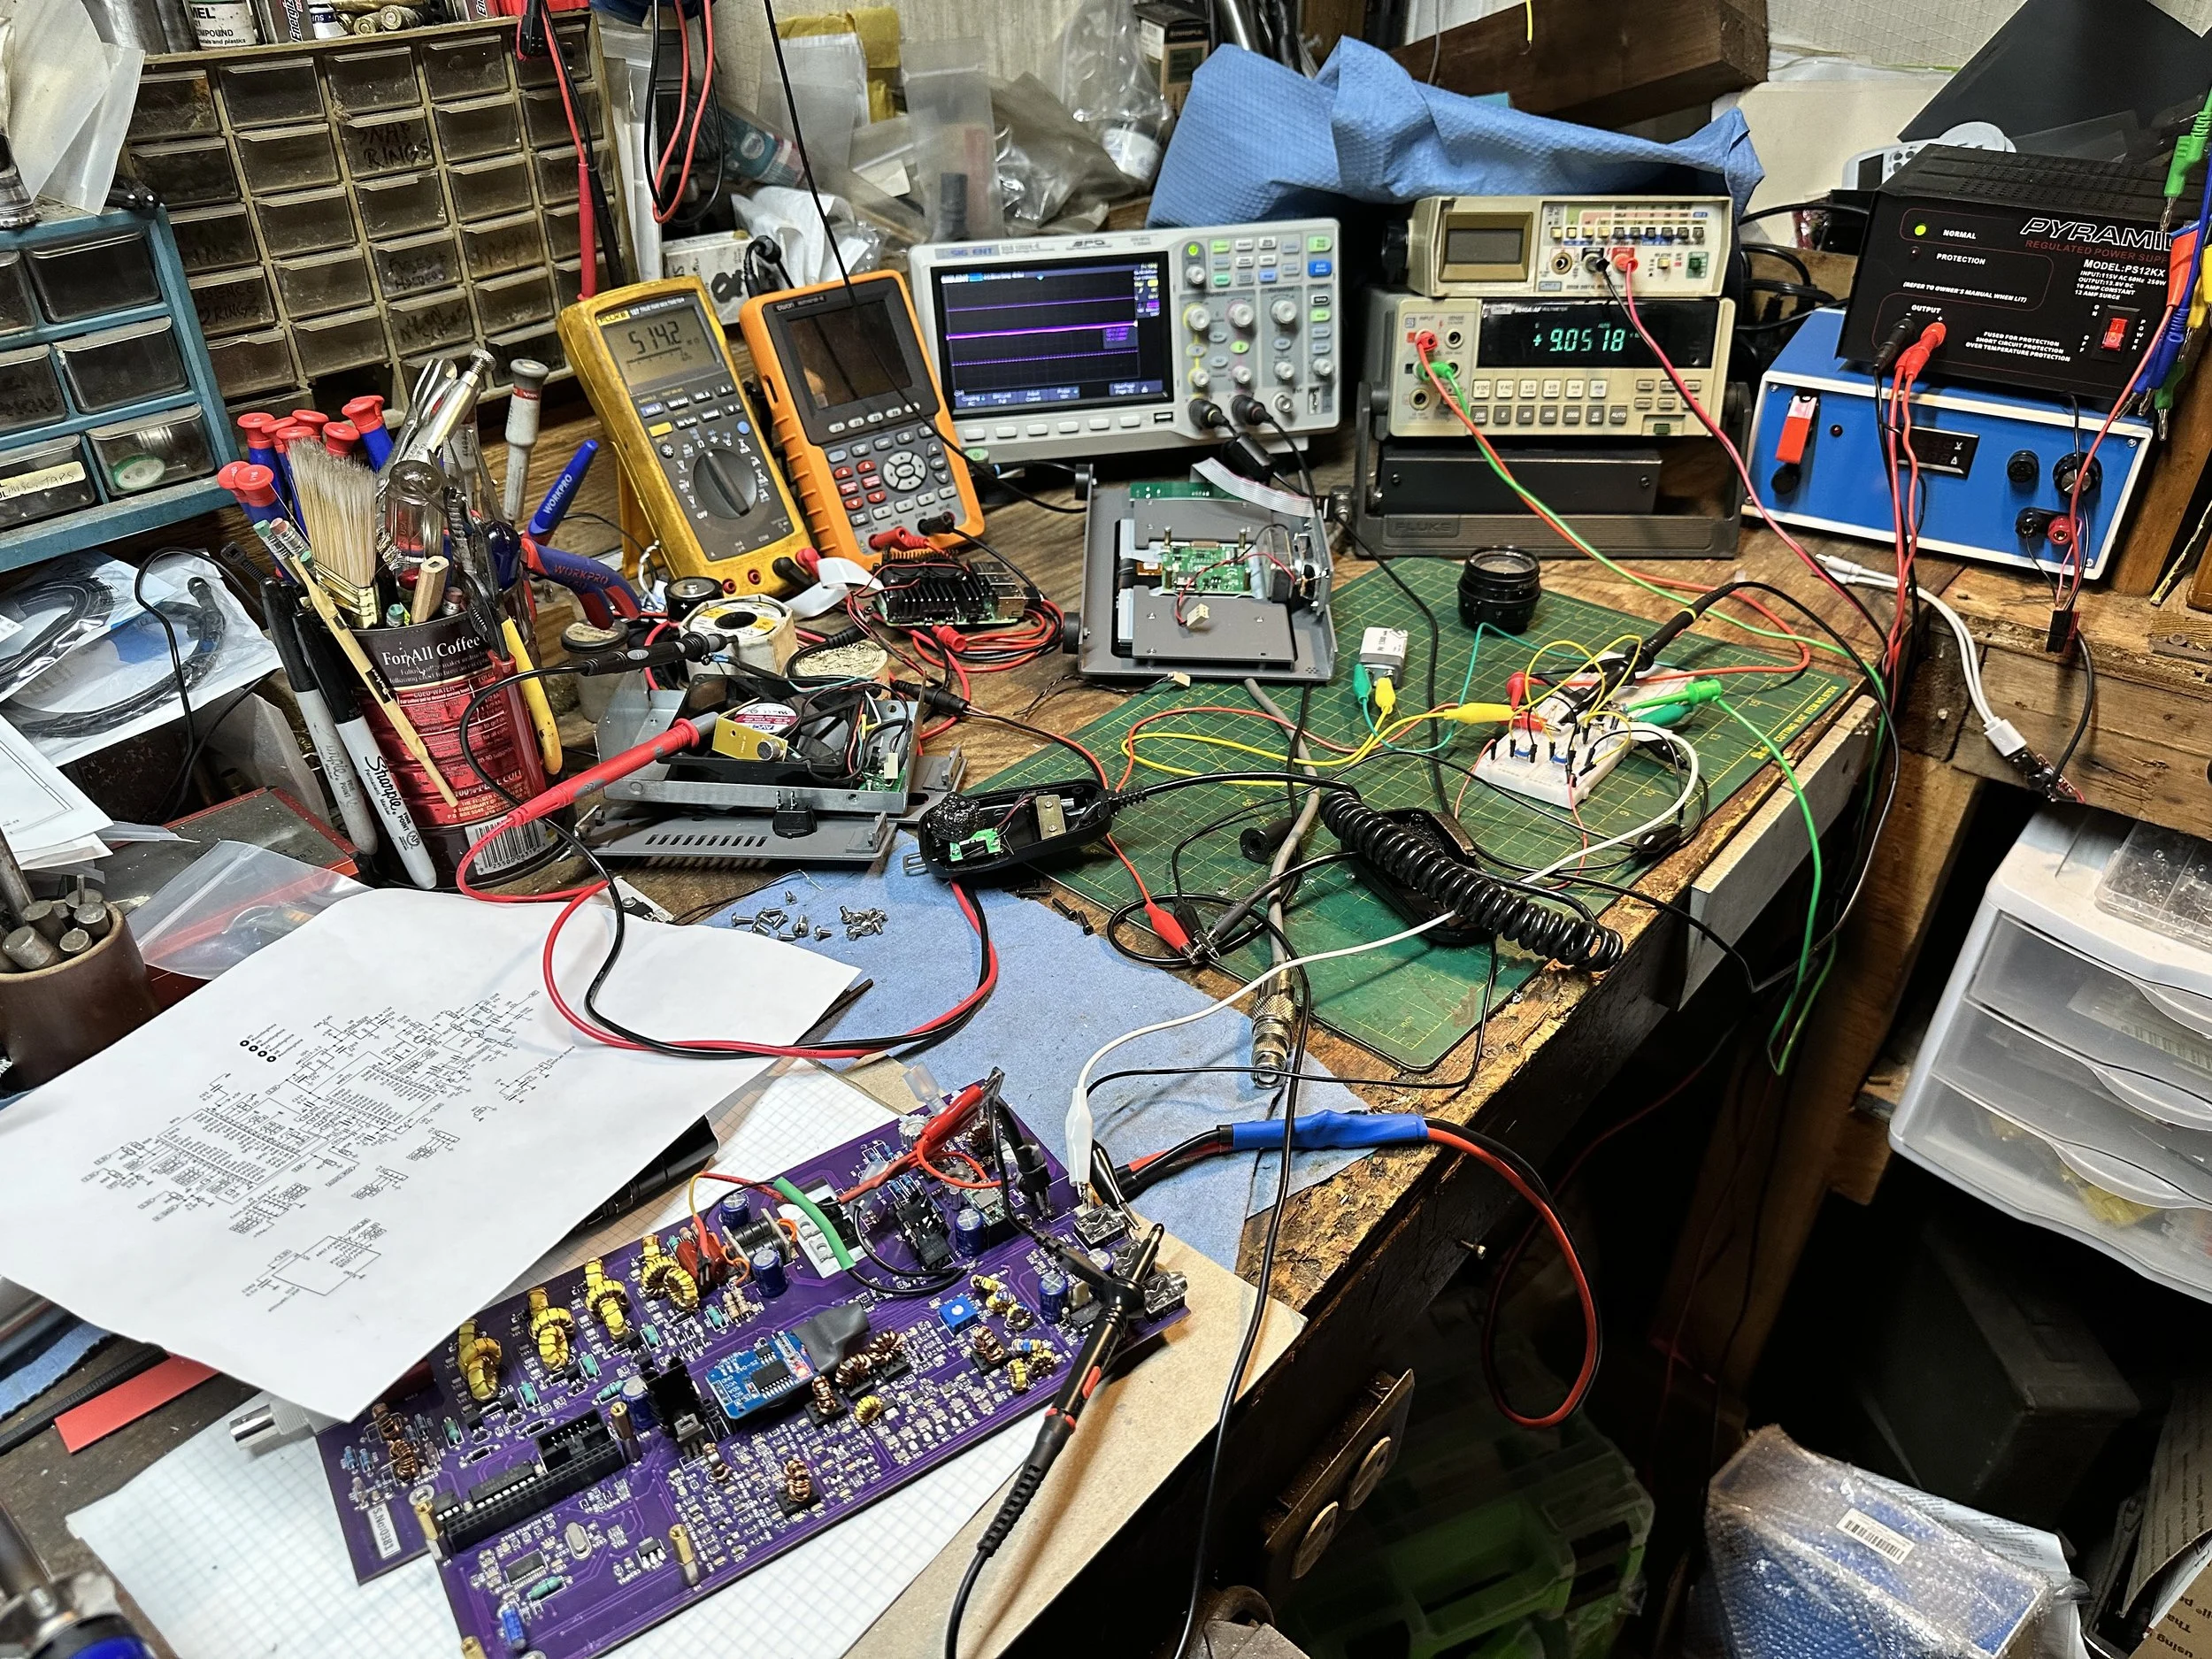
The reason I currently dont use it for SSB is the audio is terrible and I need to trouble shoot that on the bench to see what is going on there. At first it had a weak microphone element so I made a preamp to correct for this but it still doesn’t seem to work all thatwell. Based on all this, I have not used SSB. (I do plan to revisit the SSB circuit to see if I can get it right)
As I also own several portable Ten Tec and Penntek radios that work wonderfully for SSB and CW, I threw in the towel and just started carrying one of those as well as the sBitx. It doesn’t take long to change out the radios since they are so small and light and I really like the break in on Ten Tec radios (the Penntek has wonderful break in too). Another huge plus is that the filtering on the Ten Tec radios is much better than the sbitx in my opinion. Now to be fair, the sBitx filtering is good, but the Ten Tec radios are just better. The Penntek TR-35 suffers the same problems that the sBitx suffers from. Strong, nearby stations will dull the receiver sensitivity.

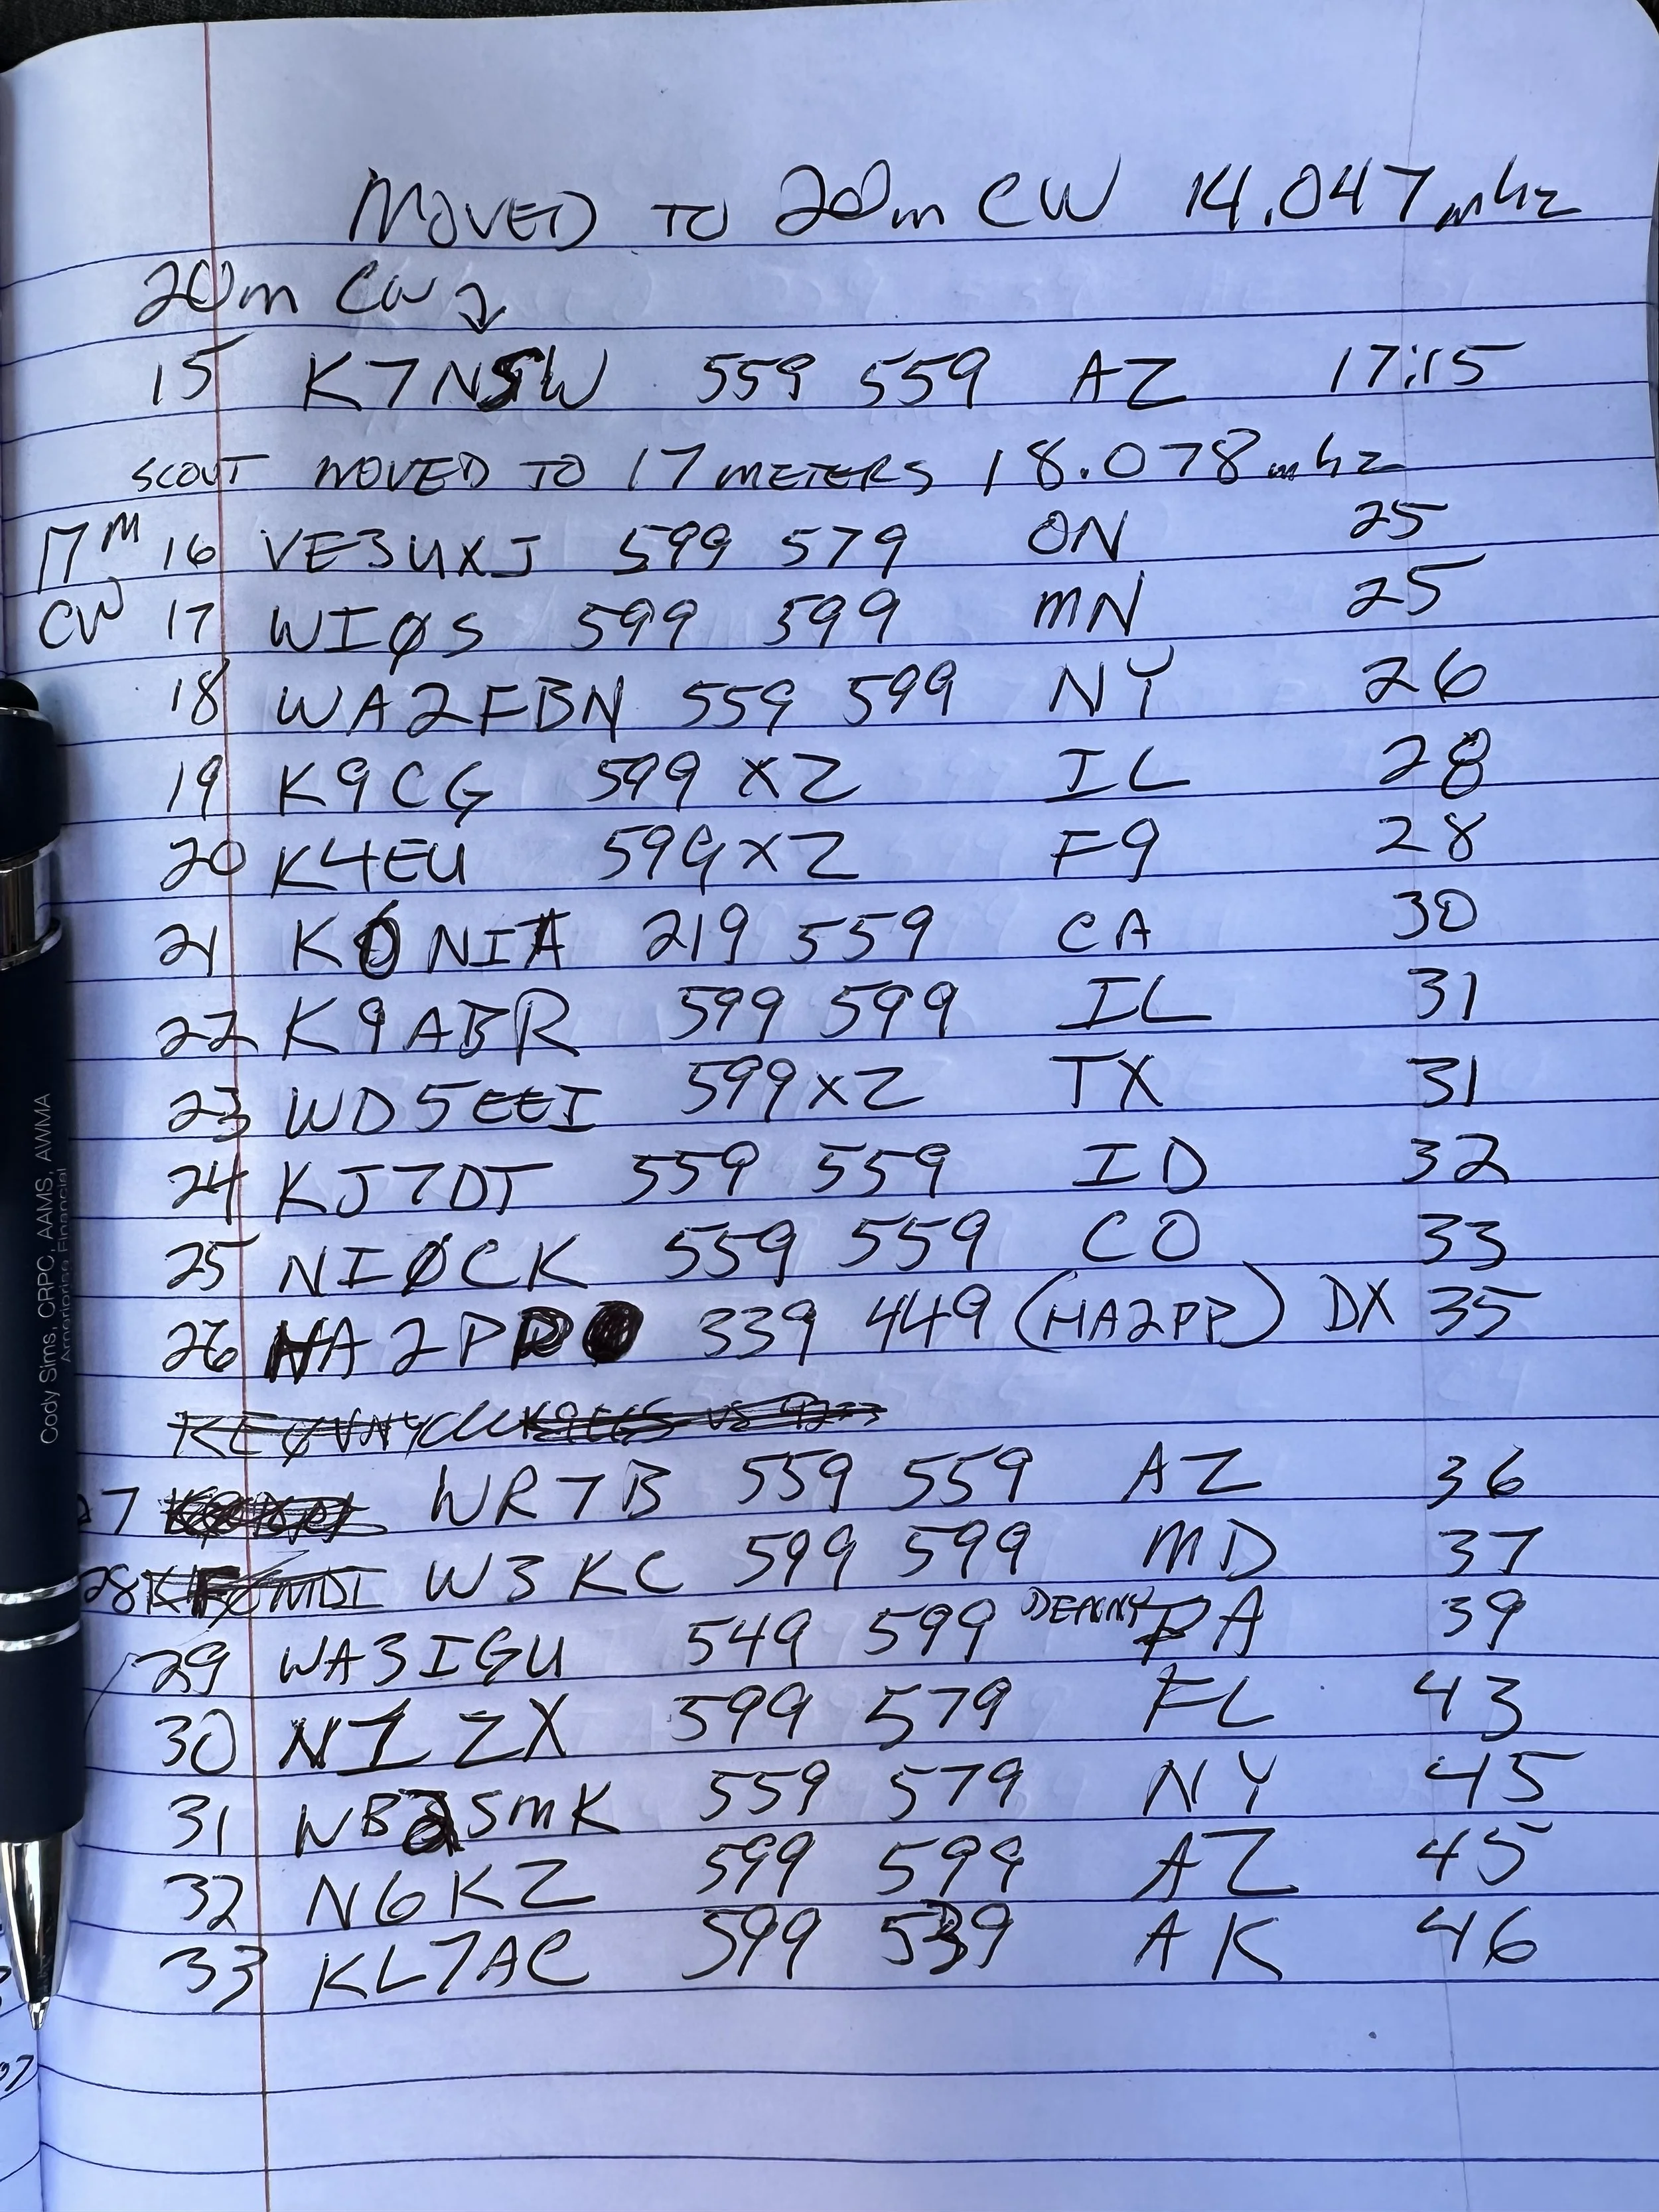
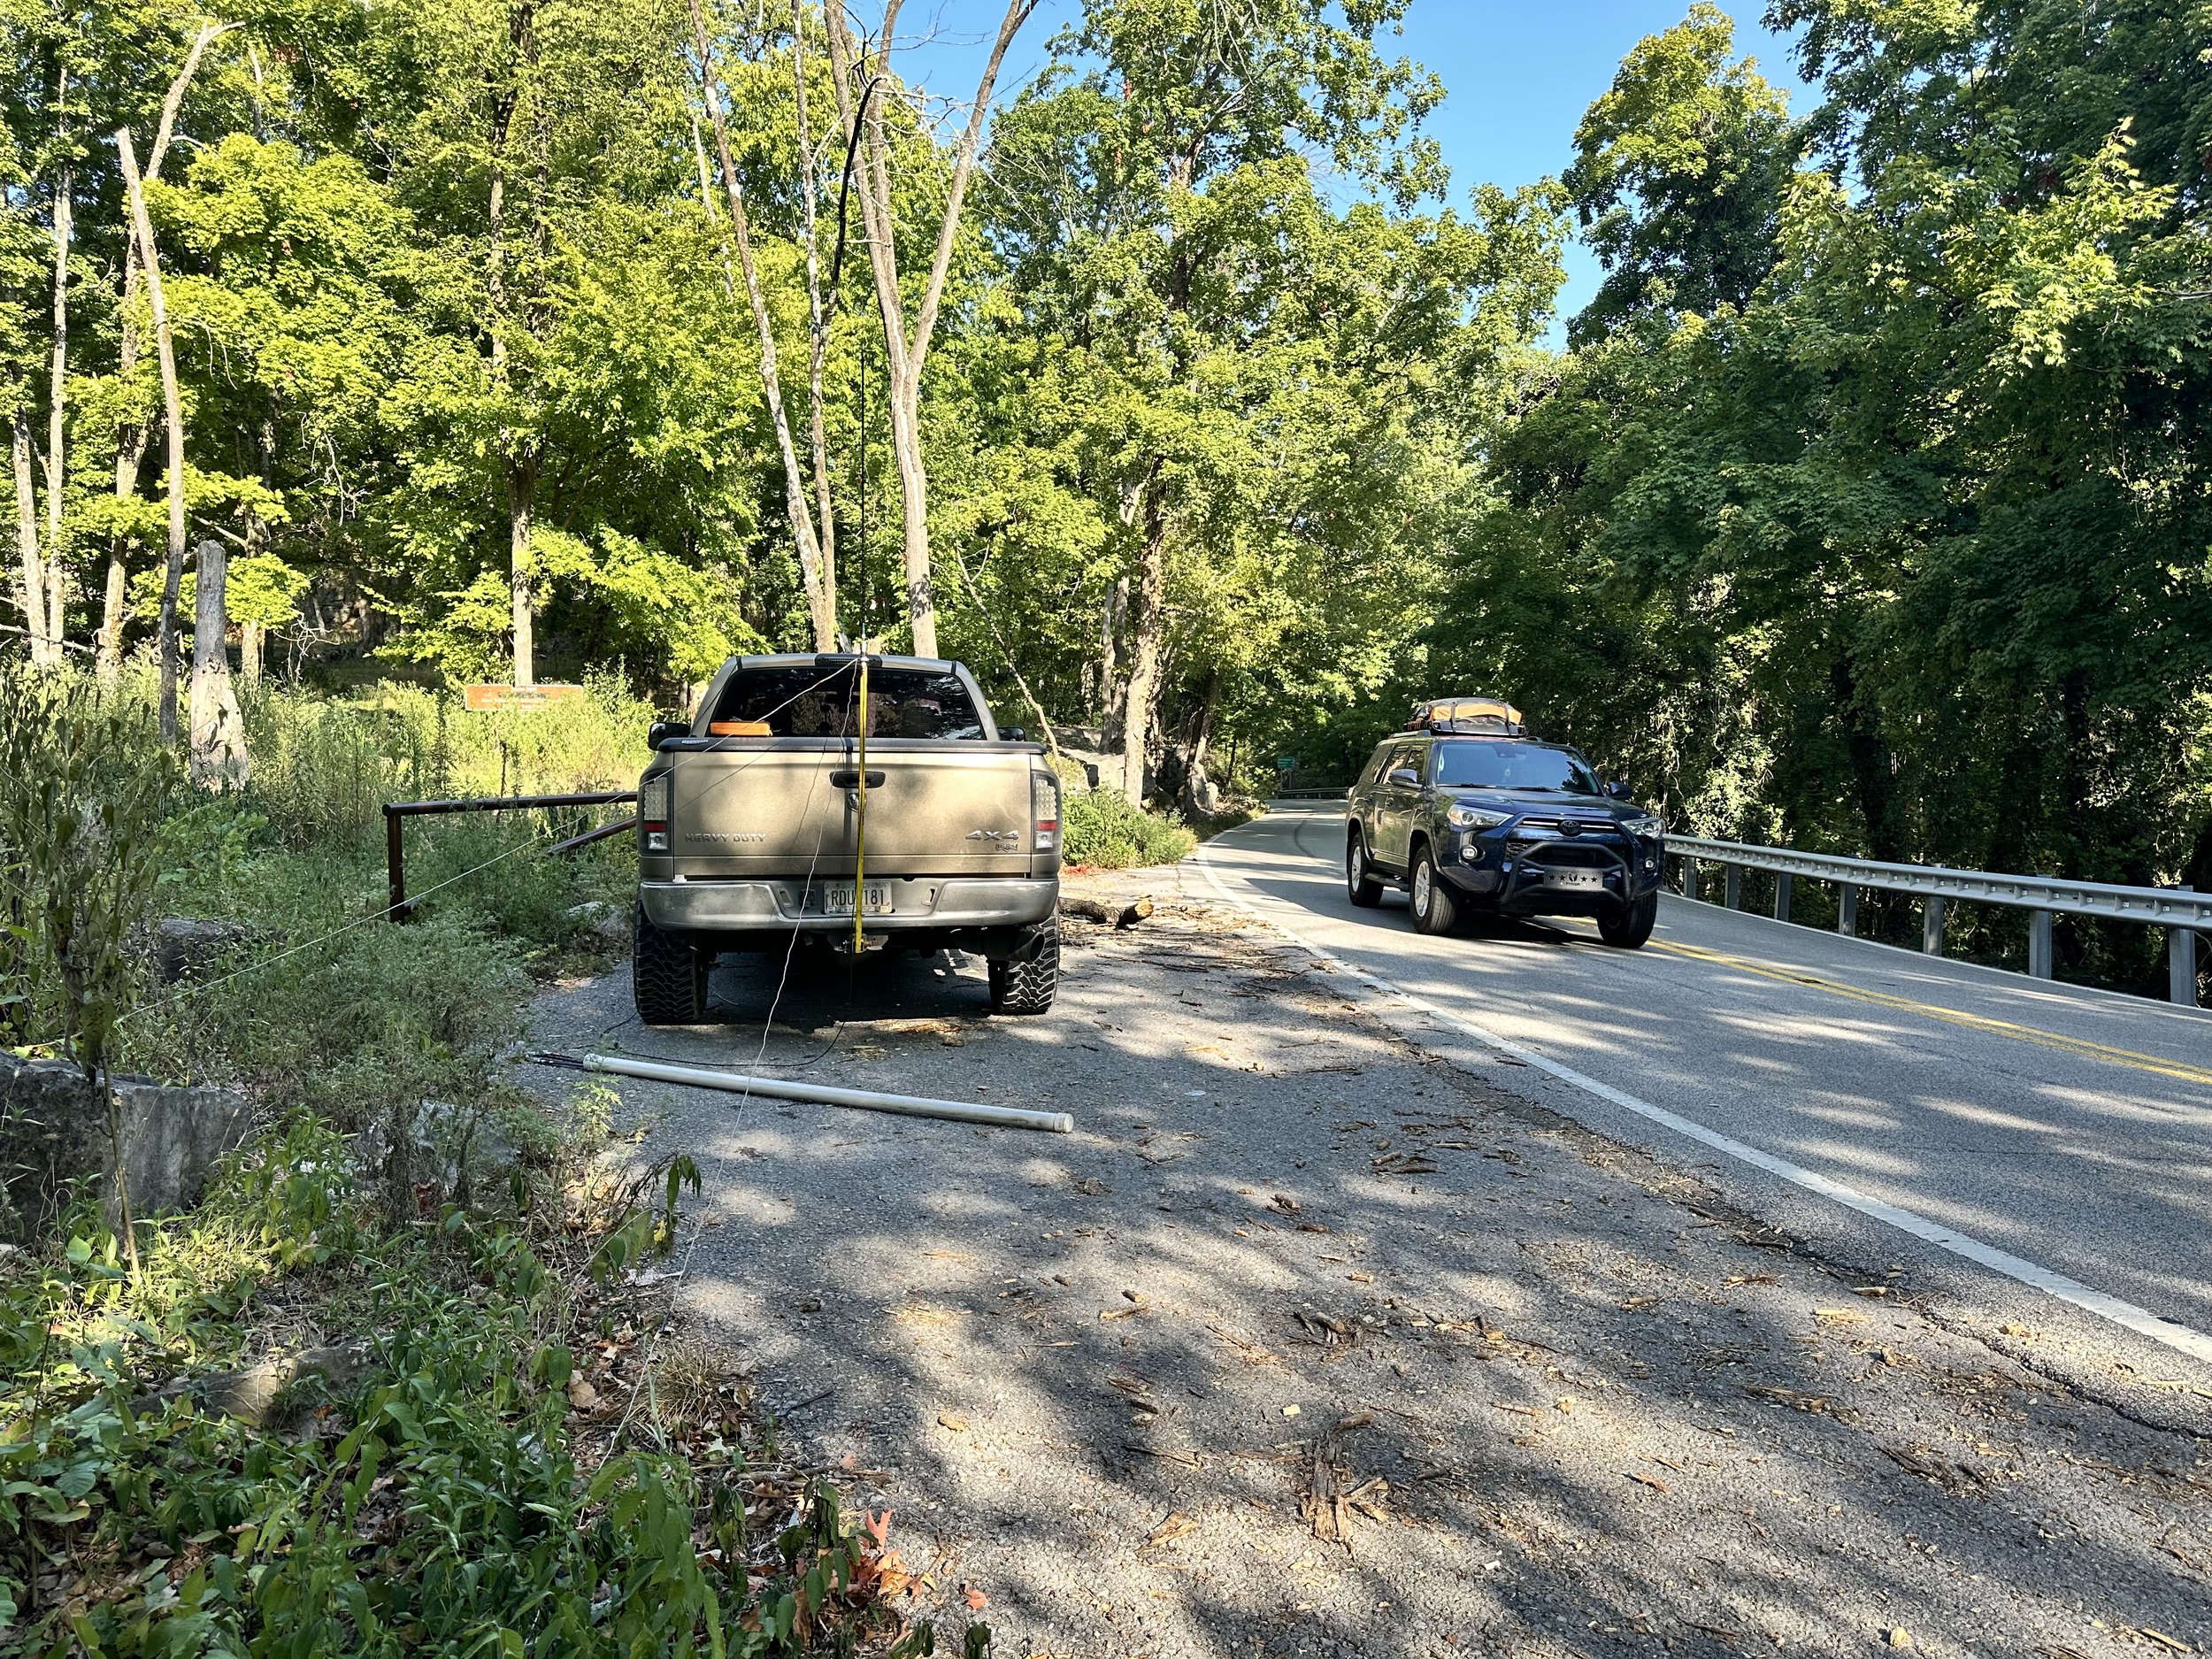
What I have found that helps in the scenarios is to simply move. There is nothing an overloaded front end can do to help this problem. I do like the features that are available in CW on the sBitx though. Things like the memories and how easy they are to employ is awesome. Another thing is the waterfall is real nice that runs right alongside the CW decoder which has helped me a couple of times. I dont watch the decoder much, but it is nice to be able to see it match what I copied at times for call signs and such. Another great thing about the sBitx is the touchscreen. Not needing buttons is real nice. The only part of the experience that is honestly lacking in CW is the keying problem. Once someone solves this problem, this will be a game changer for a radio. I am still experimenting with different cooling solutions to keep the machine cooler to see if I can get the keyer to work better.

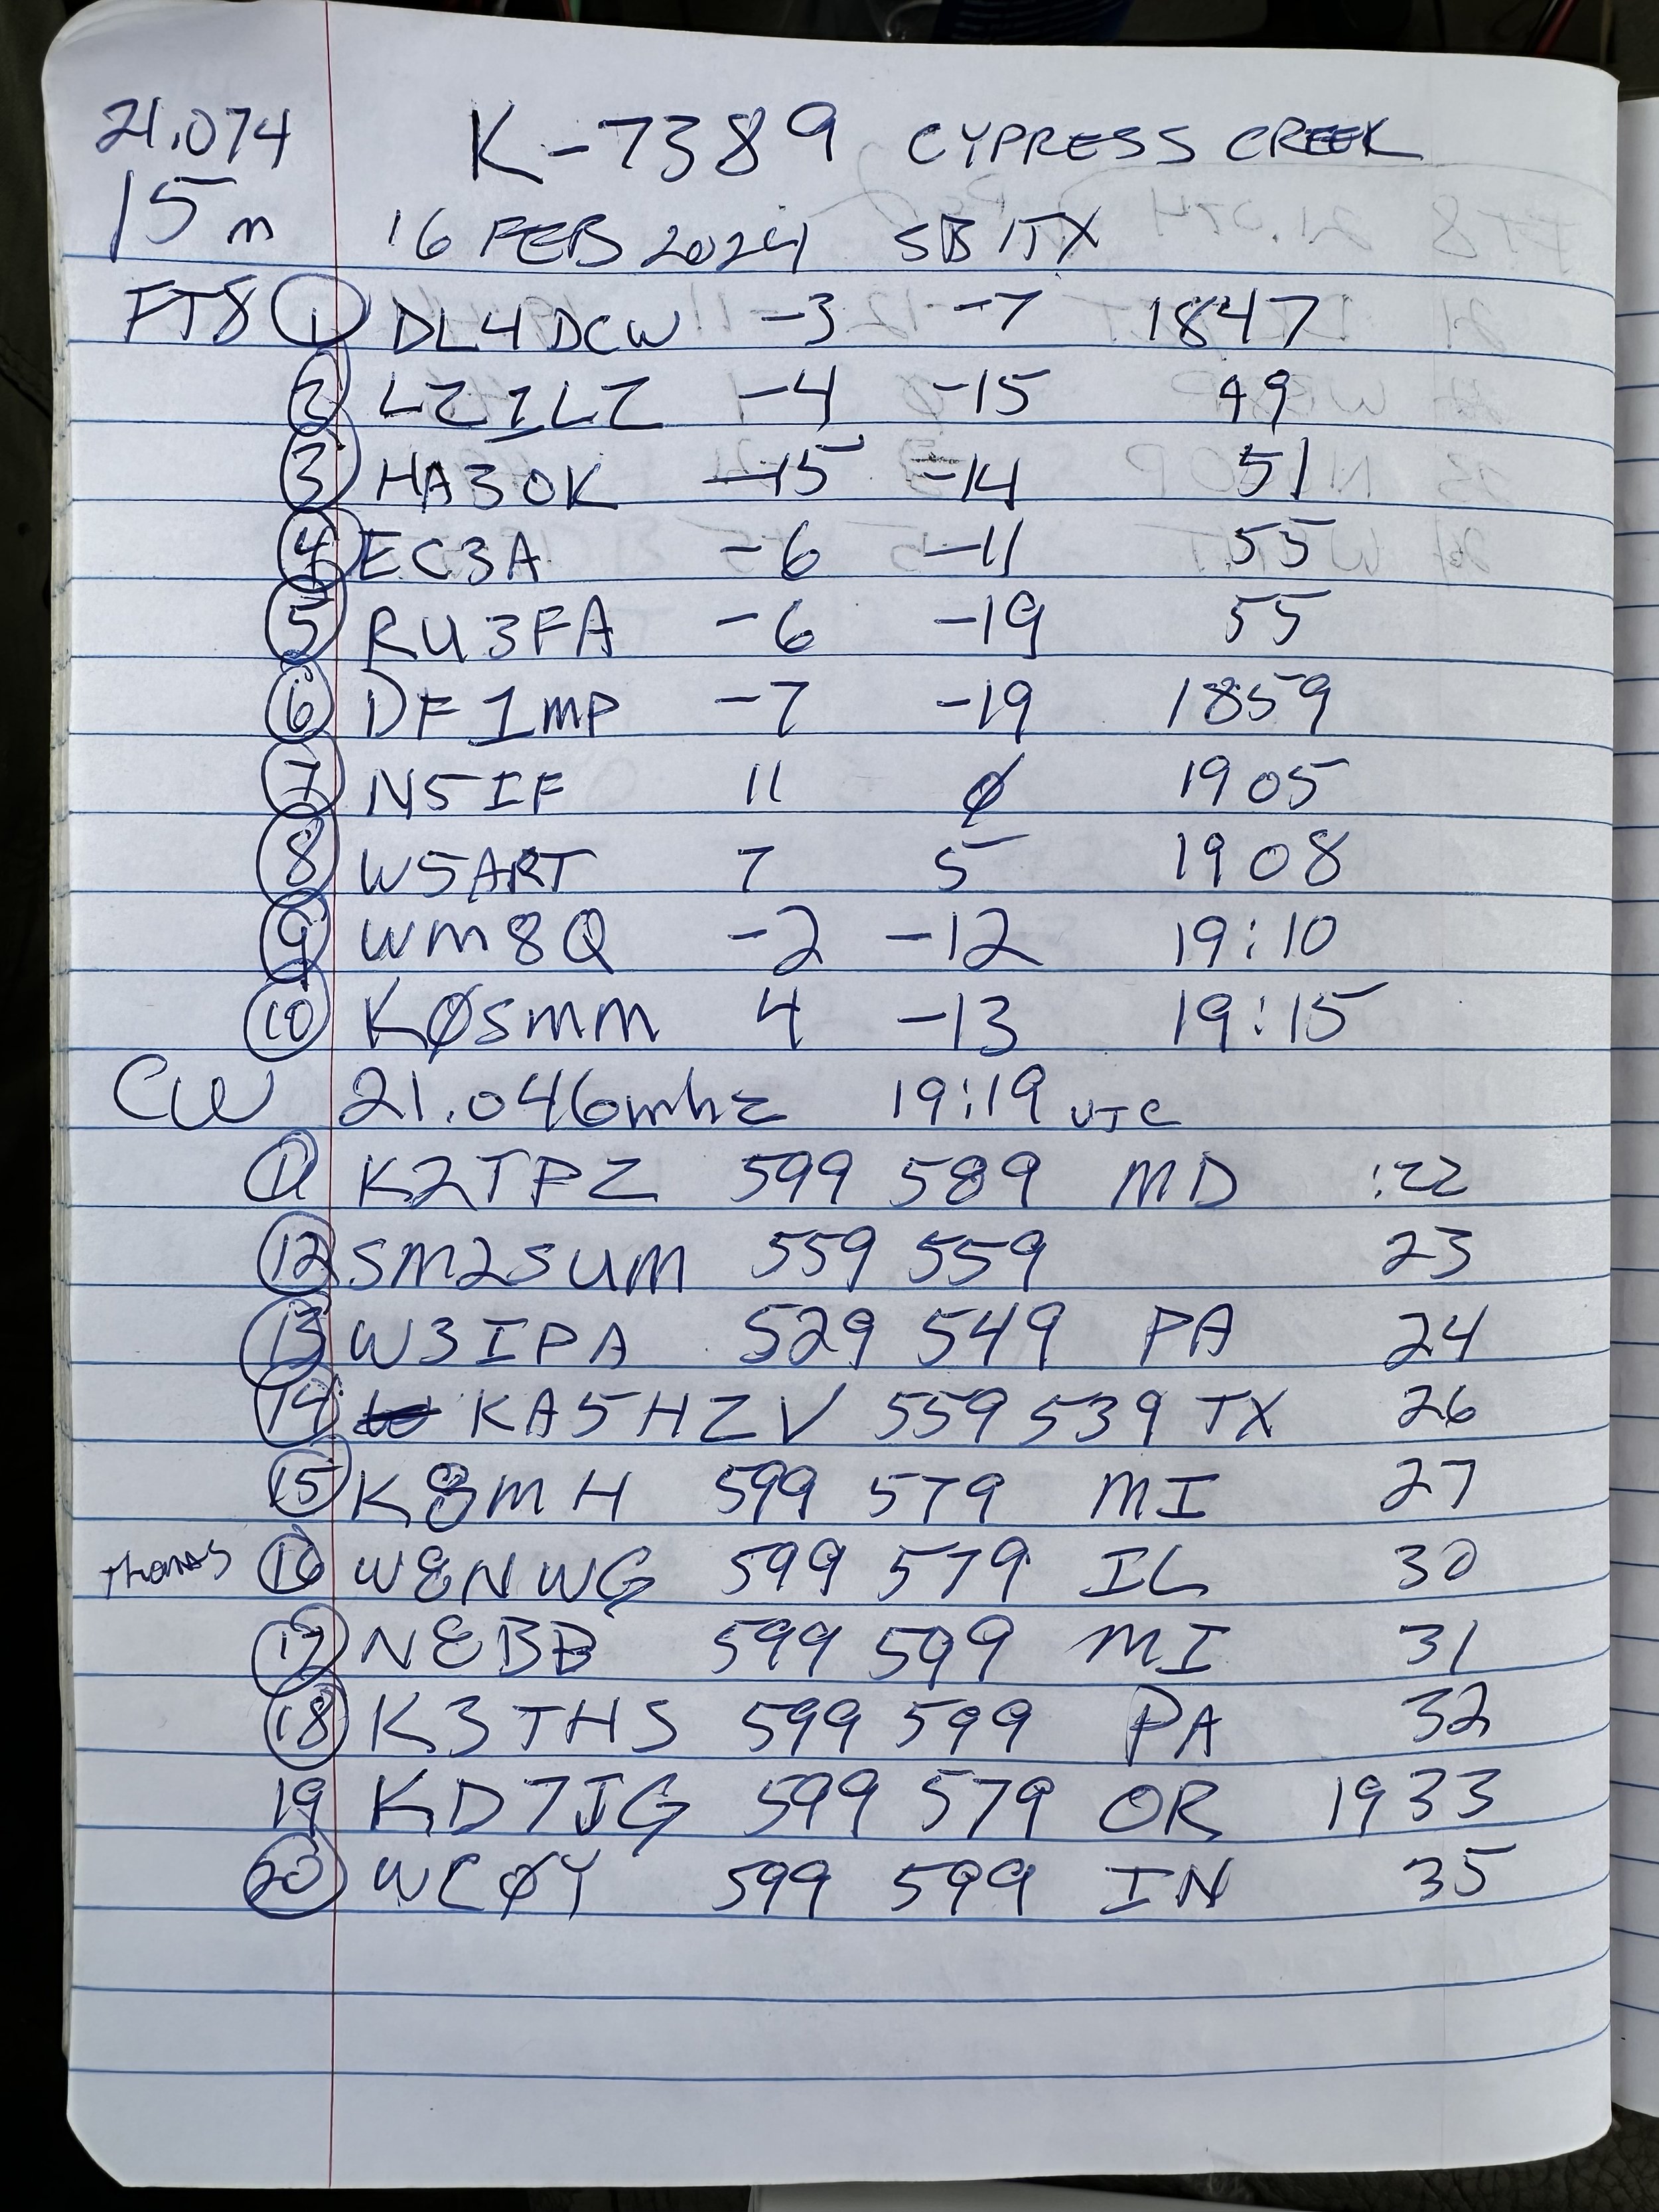
As you can see, this machine makes for a great FT8 field radio. The lack of a need for an external computer is a huge benefit when it comes to this. I just wished the dev team could sort of the CW keying problem this radio has that makes it less than ideal for this application at this time. One thing I plan to do soon is to set it up and see how running QRP power only helps alleviate the heat problem by not running 20 watts on 15 meters and building up the extra heat. This may solve most of my problems but the radio is designed for more transmitter power so I want to access that power.. Another option is to use a keyboard to send the code as it generates the code internally in software instead of polling the IO architecture to get the keying input. This is fun to me too but a nice key is also fun to use. So till the dev team does come up with a solve for the CW keying problem, I will relegate this radio to keyboard CW and FT8 (and maybe even SSB once I address the audio problem again)… But the main reason I wanted the radio to start with was the built in FT8 function that it has, so in that regard I have a great radio that I love to deploy!
If you are considering getting one of these radios, just be aware that it is far from perfect and it is literally made for experimentation. As long as you keep your expectations in reasonable bounds, this radio can be a lot of fun.